Krayt Slayer Quest
Guide currently in progress
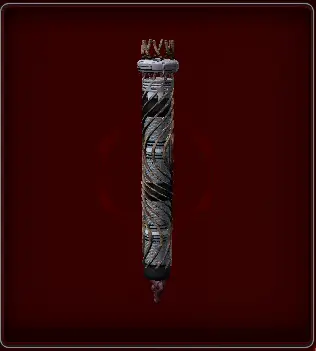
The Krayt Slayer is a quest for Jedi to get a new Lightsaber the quest starts in the Krayt Valley in the south western corner of Tatooine.
Part One: Dusty Relic Collecting
Use the following waypoints to search “Small Rocks” at the end of each cave passage.
The “Small Rocks” are often locked like a slicable container; you will need to slice with a character with the novice smuggler box to unlock them.
I bring a Commando, TKM that has novice slicing with me. Not having this 2-man set up will make this quest take considerably longer.
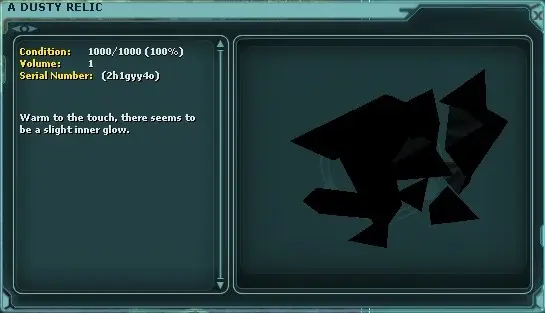
Collect Dusty Relics
Waypoints
Cave #1: /way -6258 -7450 (useless Cave)
Cave #2 Ember: /way -6458 -7420 (3 x Smalls Rocks)
Cave #3 Dune: /way -6638 -7333 (4 x Smalls Rocks)
Cave #4 Zephyr: /way -6671 -7582 (3 x Small Rocks)
Cave #5 Sedrona: /way -7533 -6869 (Quest Cave) Must have relics to enter.
Cave #6 Shardhound: Cave: /way -7491 -6649 (Single King Krayt quest)
Cave #7 Named Krayt: Cave: /way -7433 -7326 (Named Krayt Quest Cave)
The Small Rocks has about a 20% chance to contain a Dusty Relic.
You will need to collect dozens of these relics, but as long as you have at least one, you can start the quest.
Clean Dusty Relics
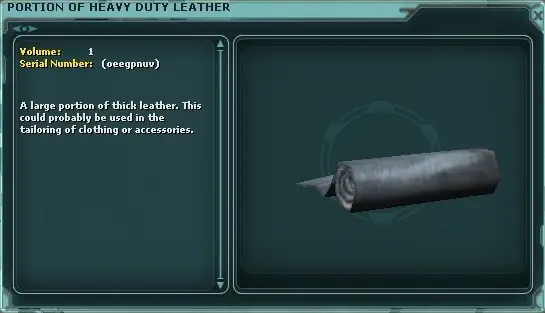
You will need “Portion of heavy leather”. To clean the dusty relic, it consumes the whole stack, so you can have a taylor that has the Chiss backpack or any schematic learned that uses the portion of heavy leather to separate the stacks.
Use the craft window to break down the leather by placing the leather in the crafting window and then removing it.
You will also need Tatooine Sunburn to clean each Dusty Relic.
You can buy From Wuher the bartender in Mos Eisley Cantina, Tatooine 3431 -4820
Wuher is also the quest giver. You can talk to him if you wish, but you don’t have to. The quest will start when you clean the Relic.
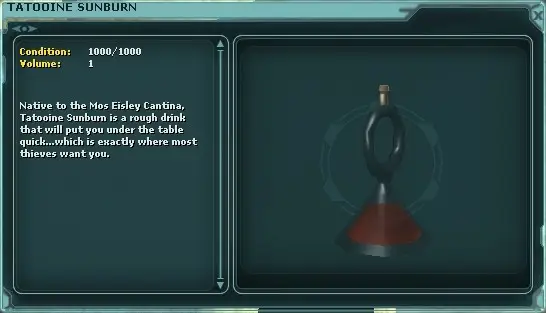
You will need 1 x Portion of heavy-duty leather & 1 x Tatooine Sunburn to clean each Dusty Relic.
With the Dusty Relic, the leather, and the Sunburn in your inventory use the Relic’s radial menu and select “clean the relic”.
The relic will become one of the following shards.
Part Two: Dormant Shard Collecting
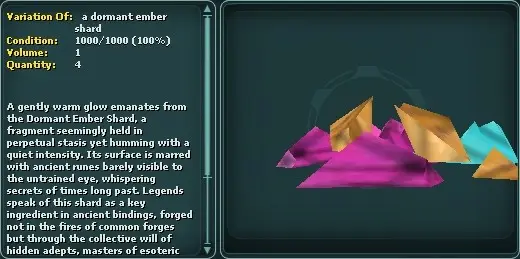
Ember Shard
Ember Shards- (Drops in cave #2 ) Flameforge Fragment – Inferno Relic – Beggars Canyon Flame – Kindlefire – Mos Espa Embers – Pyrestone Essence
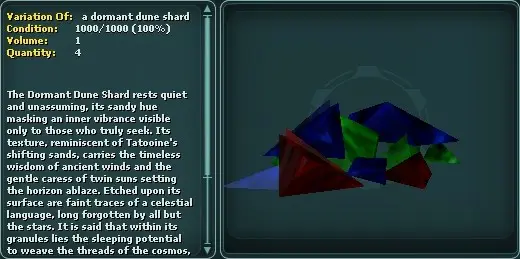
Dune Shard
Dune Shards – (Drops in cave #3) Force Gale Enclave – Skybound Zephyr Shard – Cyclone of Waste – Jedi tempest Essence – Stormwatcher Fragment – Zephyr of the Ancients
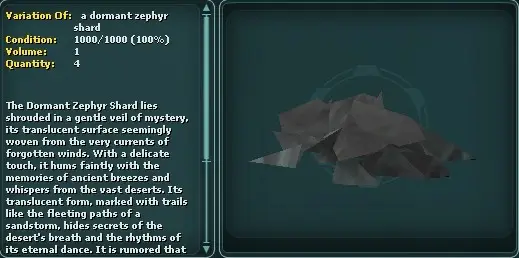
Zephyr Shard
Zephyr Shards – (Drops in cave #4) Whispering Sirocco – Quartz Illusion of Jundland – Duneswirl Gem – Sandwright Crystal – Krayt Shard – Twin Sun Reliquary
Energize Relics
The next step is to energize the shard in the radial menu. WARNING: THIS WILL USE FORCE, and will cause visibility.
It will also make the shard untradable.
Part Three: A slow walk to death.
Journey to the bottom of cave #5
You will need one of each version of the shards to receive a saber component with the forge at the end of cave #5.
Each shard has six versions listed above.
You can attempt the walk with just one shard to practice. I highly recommend practicing the walk.
You only want to bring one because it’s easy to fail, and a failed attempt will take a couple of your shards.
So grab a spare shard, and then enter the cave unbuffed, including force buffs, and do not burst or force run.
You also need to uncheck “player runs by default” in the Options/control menu.
Disable chat bubbles in the Options/chat menu. This will help you see the dragon’s names.
You must identify the mantra and make a macro to repeat it every 3 seconds in Spatial. You have 8 minutes to reach the end before the dragons attack.
Do not target the dragons. (Hover the mouse over to identify.)
But you must know their names in the order you passed them at the end.
The Mantra will appear in the text bar as shown below. It is hard to tell, but mine showed up in an orange color.
The mantra is what follows: “A spectral voice echoes softly:”

So an example macro would be as follows:
/say Gentle presence eases might krayt dragons find solace in the light:
/pause 3;
/macro name
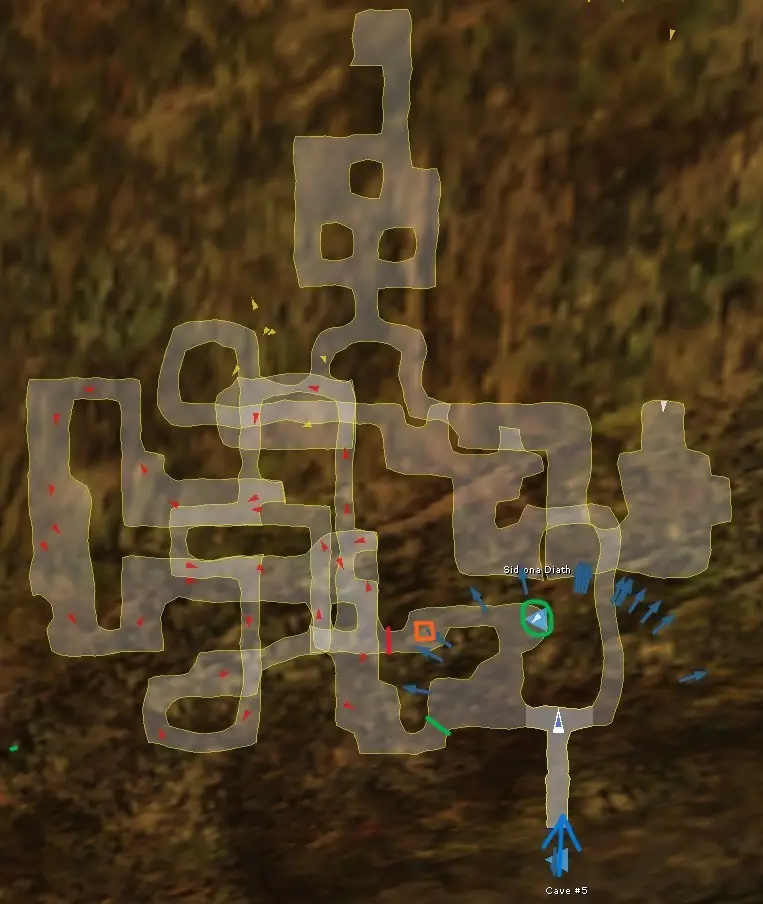
Crossing the green line starts the 8-minute timer.
The time stops when you cross the red line.
I think the walk takes nearly 8 minutes, so you must take the shortest path, cutting close to corners and walls.
The forge is the orange box.
When you think you are ready, take one full set of the same type of relics.
Do not ever stop, turn around or strafe.
Once you have made it to the forge, you have about a minute to drag & drop the shards into the forge in the order you passed the krayts with the exact same name. (beware of similar names) Shard Collector Tool below can help keep track. Note: nothing happens when you drag & drop until you complete or run out of time.
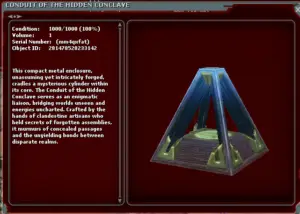
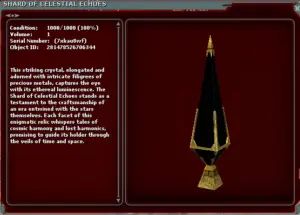
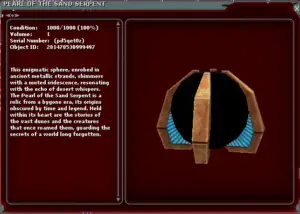
If successful, you will receive one of the components listed below.
If you make it to the forge and get the order wrong, you won’t lose any relics. If you run out of time, you will lose one or two relics.
The cave goes on a 5-hour lockout after each attempt, whether successful or not.
Shard Collector Tool can be used to track the Krayt names order.
⚡ Shard Collector Tool
Click any shard to add it to your list in the order you select them
🏜️ Dune Shards
🌪️ Zephyr Shards
🔥 Ember Shards
Selected Shards (in click order) 0
- No shards selected yet. Click any shard above!
Saber components.
Part Four: Saber Trial I
Keep a fragment on you for the cave quests.
Once you have the 3 components, return to cave #5 to talk to Sidrona to start the first trial. Be buffed and ready to fight.
He will teleport you to the cave.
Warning: do not tab-target you if you target a named Krayt; they will kill you and start a lockout.
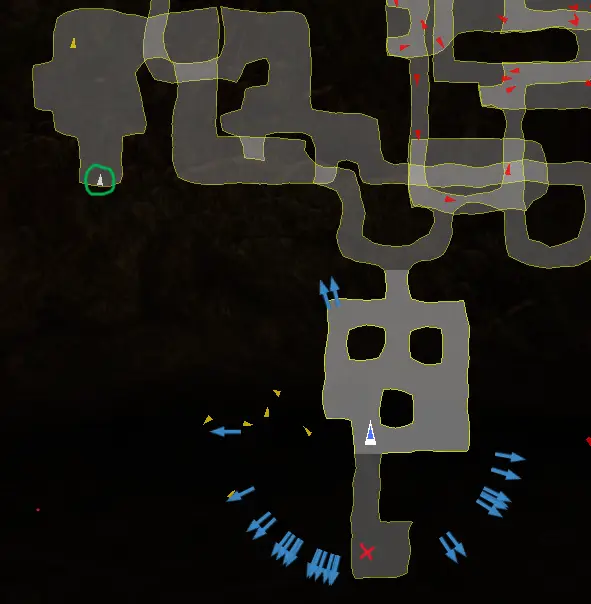
His instructions are to kill all the shard hounds in the part of the cave you have access to, then kill the King Krayt.
The Red X is the King Krayt.
The green circle is Sidrona for the next quest and exit.
Part Five: Saber Trial II
Saber Schematic
Talk to Sidrona again; he will send you to another cave.
Cave #6 Shardhound: Cave: /way -7491 -6649
He instructs you to kill one of the following to loot a saber schematic.
Krayt – First Generation
Tusken – Second Generation
Boar – Third Generation
Jedi – Fourth Generation
Only kill and loot one schematic; looting two will cause you to lose both.
The saber type is random. If you want a certain type, kill the boss again without a schematic in your inventory.
Go craft the saber
Part Six: Krayt Slayer
Talk to Sidrona again. (I had to grab a Relic to get back in the cave) He will send you to another cave.
Cave #7 Named Krayt Cave: /way -7433 -7326
He instructs you to kill 20 named Krayts in the south cave
After you kill the first Krayt your saber will become “Dormant Spark” with 1 charge showing.

Your saber will become “Stirring Ember” at 10 charges

Your saber will become “Force-Bound Blade” at 20 charges

Return to Sidrona
Part Seven: Walk of Names
You can use the Shard Collector Tool above.
Sidrona in cave #5 will ask you to do the walk again. This time, he wants you to track the names of all the Krayts you pass in the order you pass them. (You can use the Shard Collector Tool above.)
Once you reach the forge area, immediately dump the mantra macro and stop walking.
You will get a system message: Now type the name of the Krayt in the position he requests in spatial.
Part Eight: Temple Trials
This will be the beginning of a series of trials you repeat the same way after each lockout.
Sidrona, at the end of cave #6, will send you to a private temple. Speak with him, then kill the krayt in the next room. Saber will gain another charge.
Be sure to use the dialogue option that closes the current trial before exiting.
Speak with Sidrona again to leave the temple.
Sidrona will tell you to return in 3 hours, but the cave to get to the temple has a 5-hour lockout.
Return later.
The first 3 trials are easy.
Warning: the 4th trial (Saber is level 23). The mobs poison. If you are not a master healer, I think this could be a little tough; be prepared.
Warning: the 5th trial (Saber is level 24). The krayt hits hard but has low Health. I just happened to have PvP buffs; I may have failed without them. Be prepared to raise your health and have damage mitigation food. This krayt poisons aswell.
After this trial, you can speak with Sidrona for the next step.
Part Nine: Choose Path
Krayt sabers only gets one ability if you would like another you would have part three through five again for another saber.
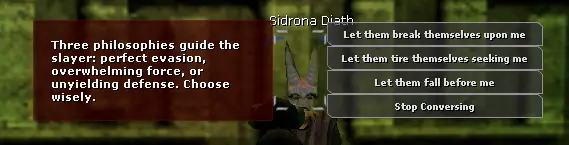
Sidrona gives you a choice. I think this is the next step to unlocking your first saber ability.
I feel the options on the left do not match the order of the choices that are arranged on the right.
I think Evasion is “Let them tire themselves seeking me.”
I think Overwhelming force is “Let them fall before me.”
I think Unyielding defense is “Let them break themselves upon me.
I will confirm this later.
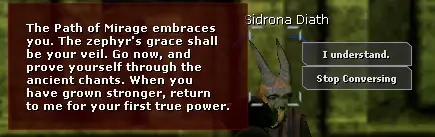
I chose “let them tire themselves seeking me.”
My thought was that an offensive ability would be pointless if I was dead.
I received the following message.

Part Ten: The First Awakening
Currently in progress; will update asap.
You should randomly receive a new chant from Sidrona.
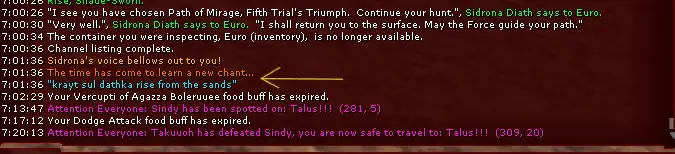
You can now summon Krayts in the Badlands
To get to the Badlands, go to Mos Eisley, Tatooine. From the shuttle, enter the downed ship turned cantina; speak with the NPC just to the right after you enter, and ask them to send you to the Badlands. You could also use an ETA-1.
Okay, this is where you should be able to summon Krayts in the Badlands. Travel at least 4k meters outside of the Krayt Slayers outpost. Only seems to work for me when I go east.
Be buffed and have a good prefill going. I recommend a Synthsteak to start, and lots of Exo Wafers for the fight; high Ham is best.
Note: These Krayts rarely, if ever dizzy state.
Kneel and start the new chant macro. Do not stop the macro or stand until you see the Krayt(s) or Sidrona tells you to travel deeper into the Badlands.
You will know if it’s working; torches will surround you, and you will get system messages saying the summoning’s progress.
The summon will go on a 3-hour lockout. DO NOT SUMMON before that time is over; You will be punished.
DO NOT DIE and definitely DO NOT DIE TWICE!!! You will be punished.
As you travel around Badlands, you may see some colored krayts. If you attack them with a low-level saber, they will despawn.
If you attack them with a high-level saber, you will get the following message.
I did not die so I do not know the punishment but as Sidrona said it will give you nothing.
